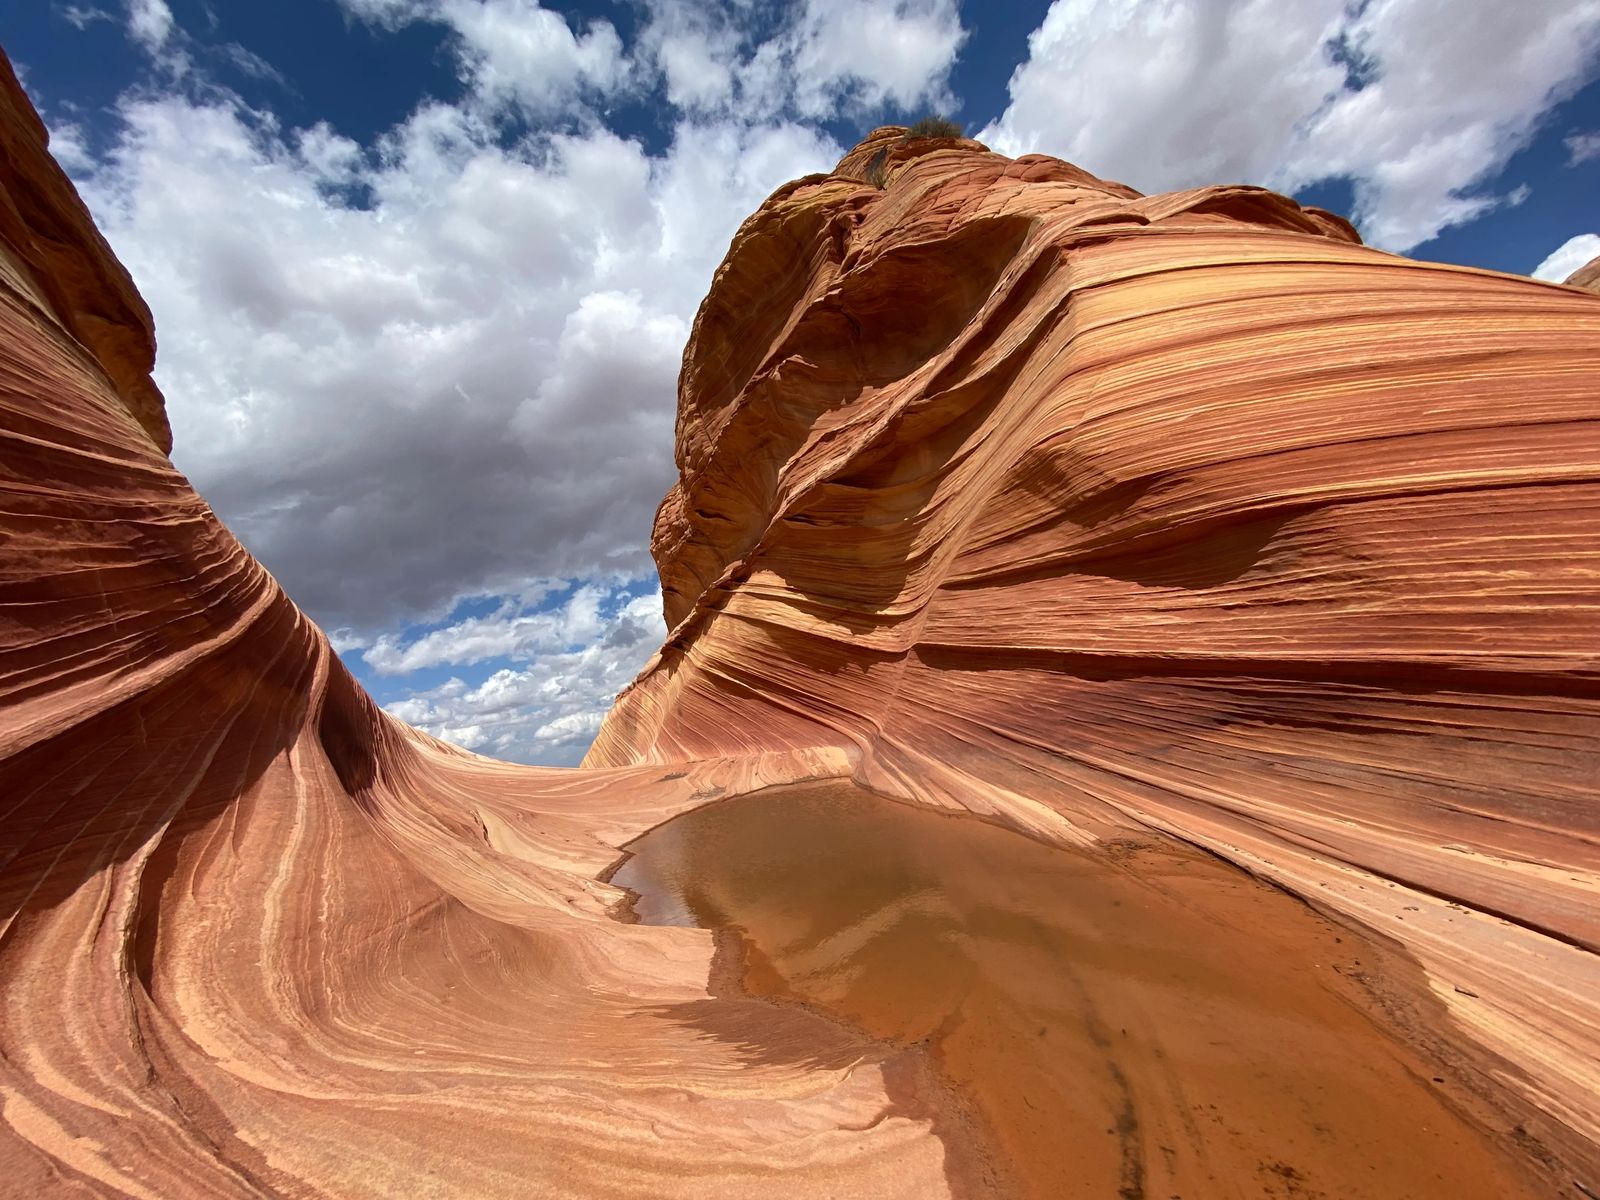
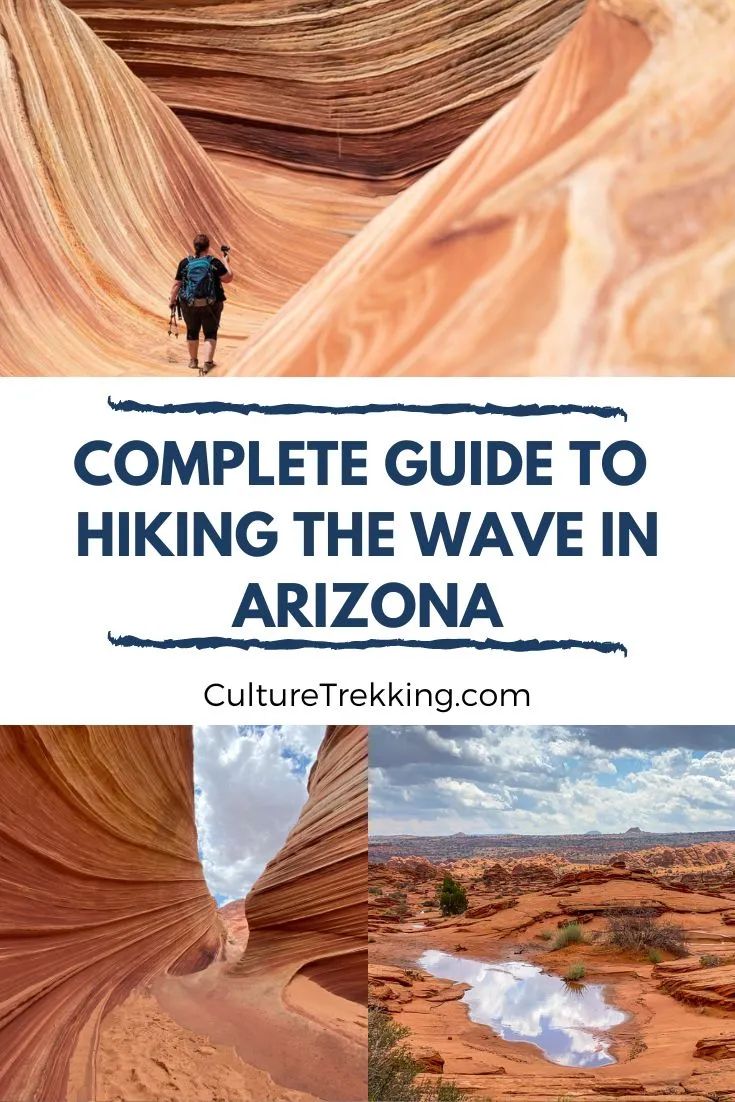
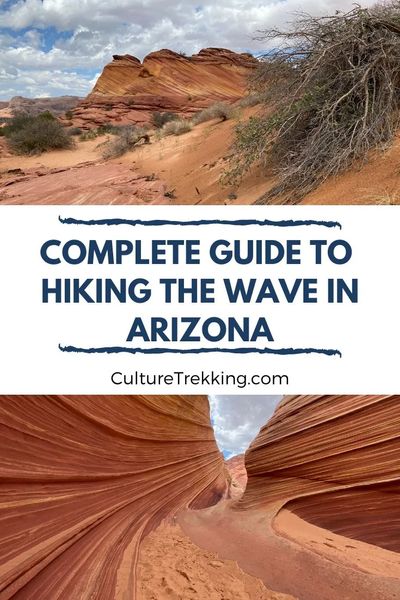
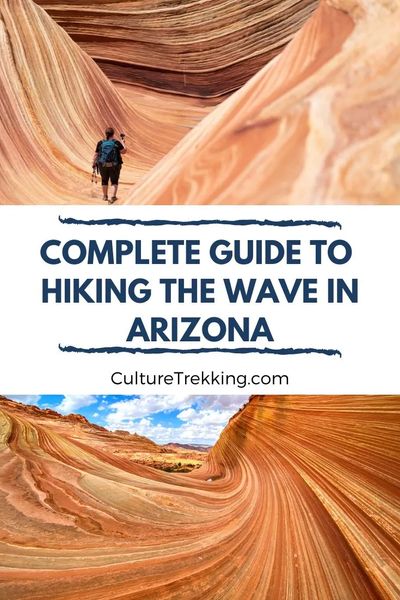
Hiking The Wave In Arizona
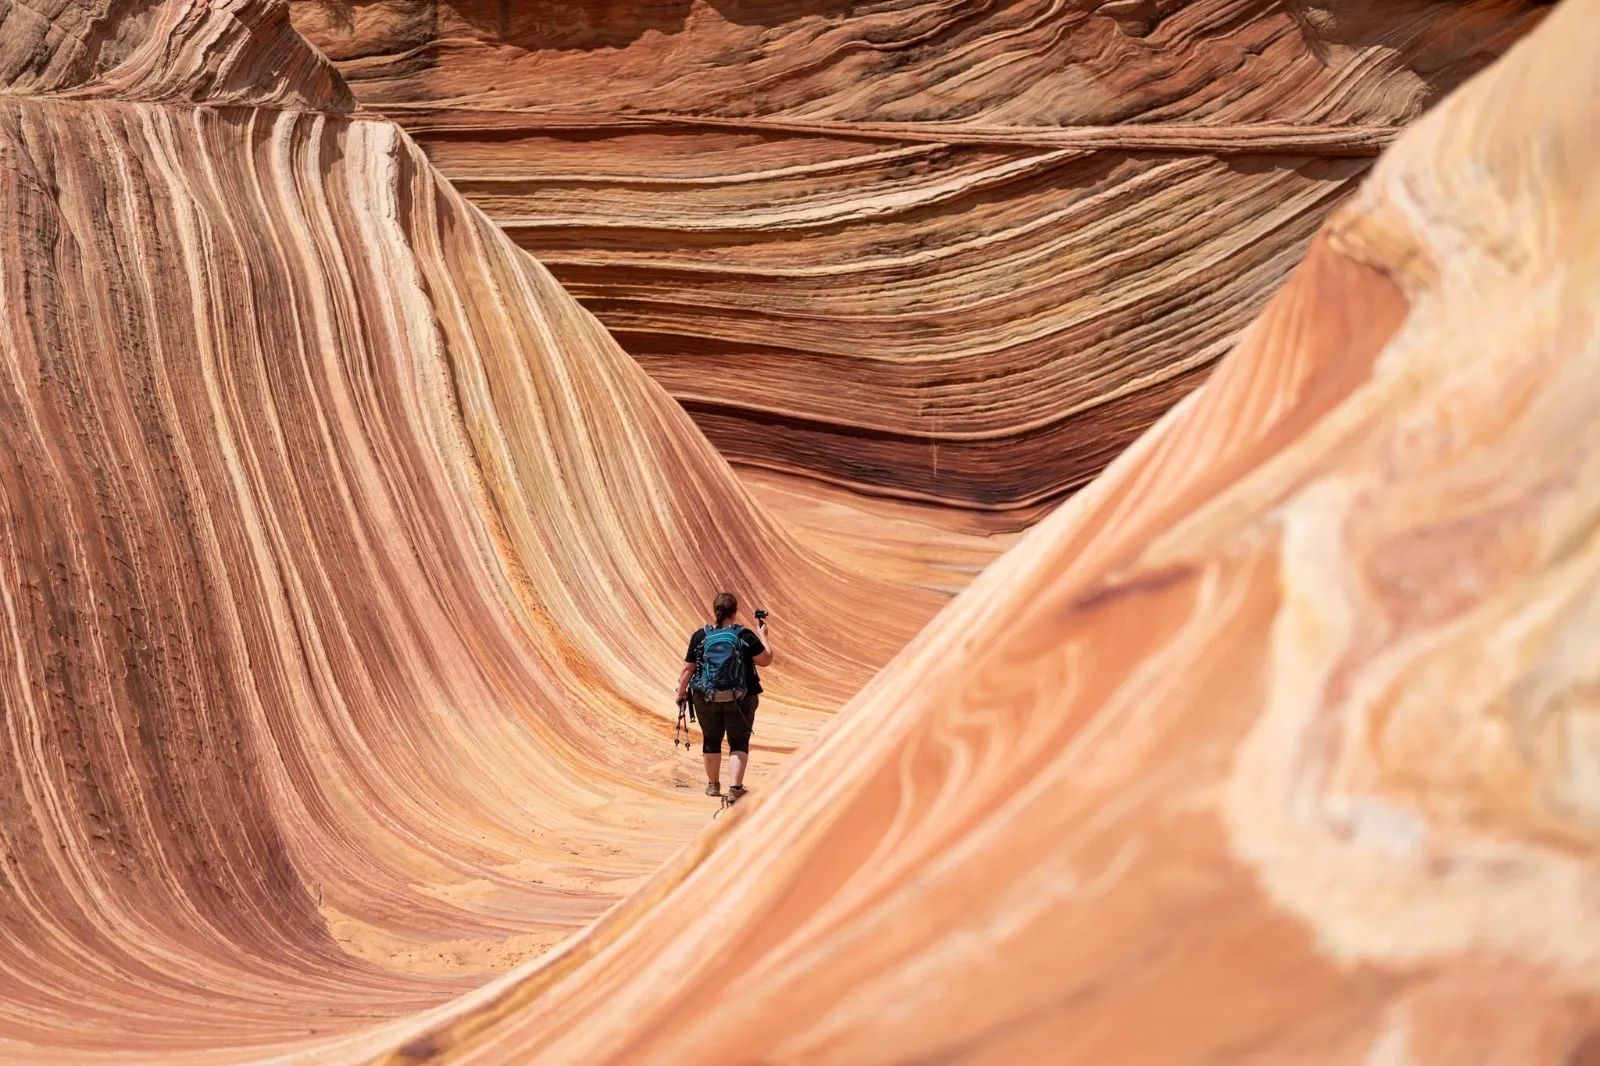
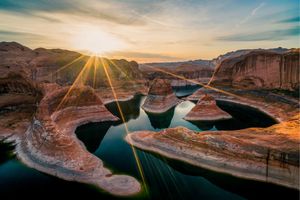
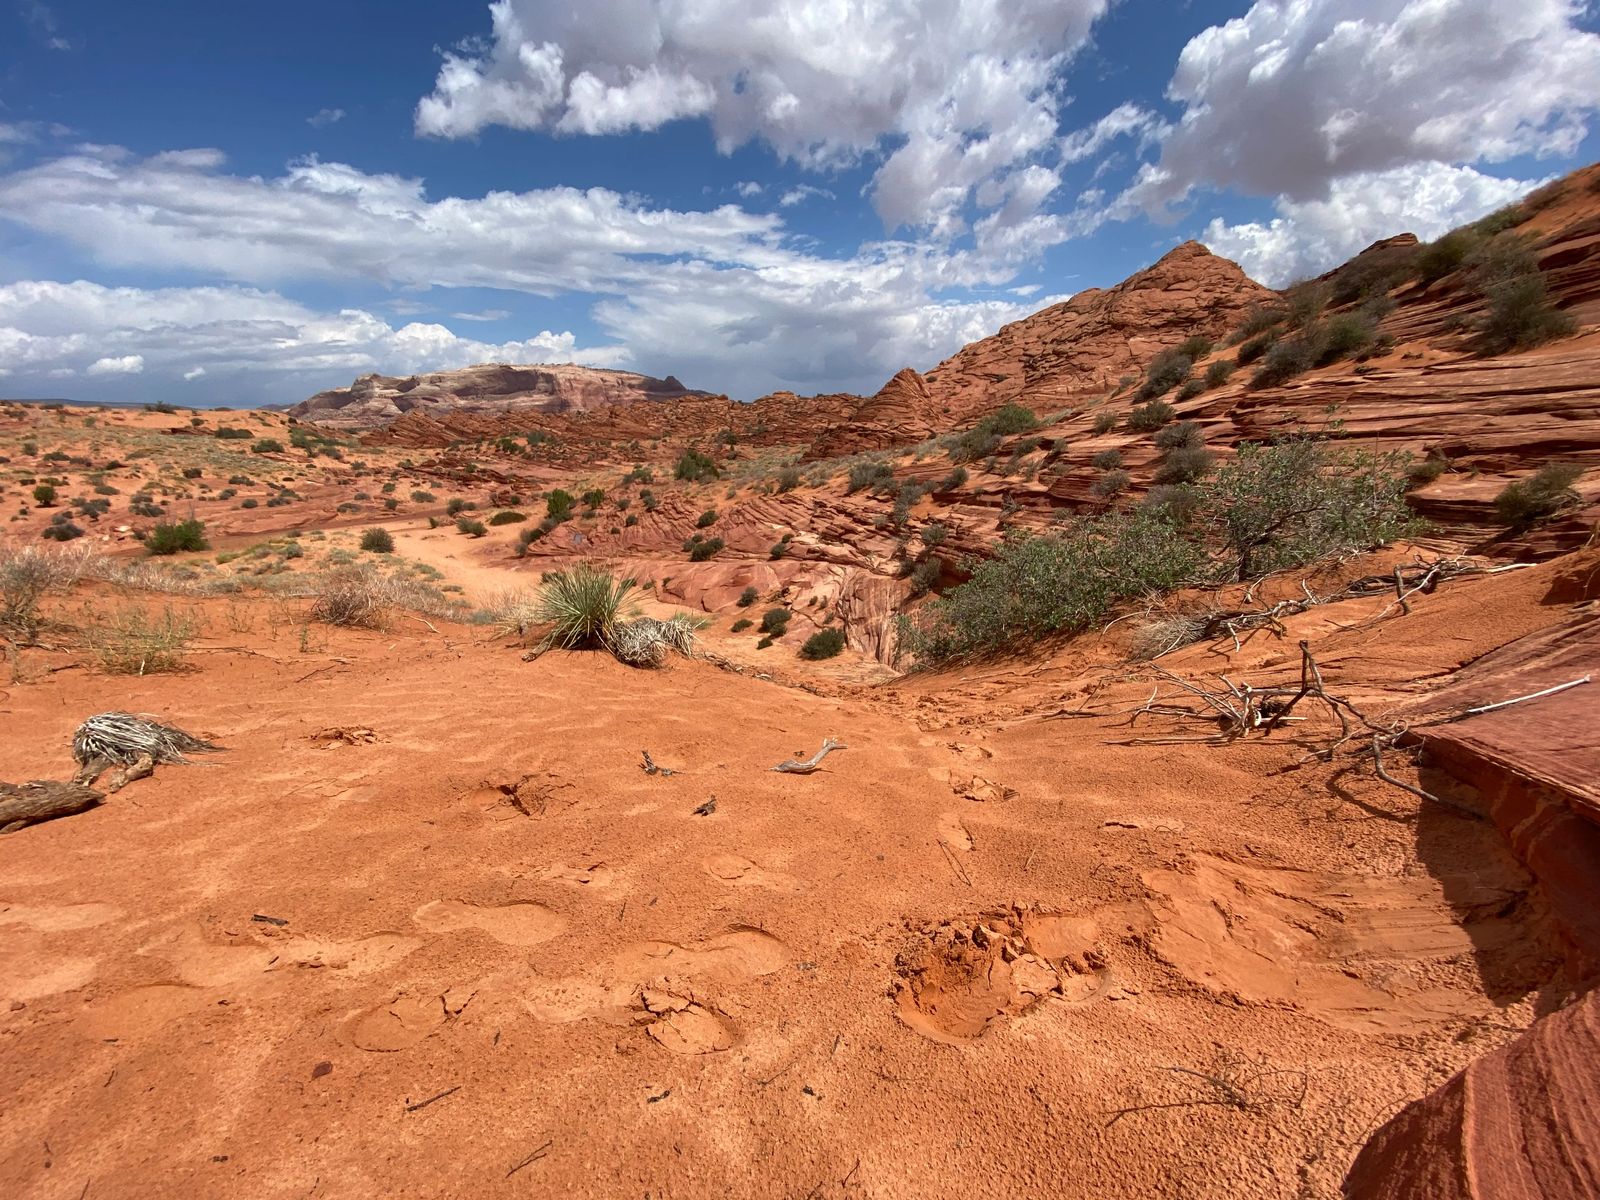
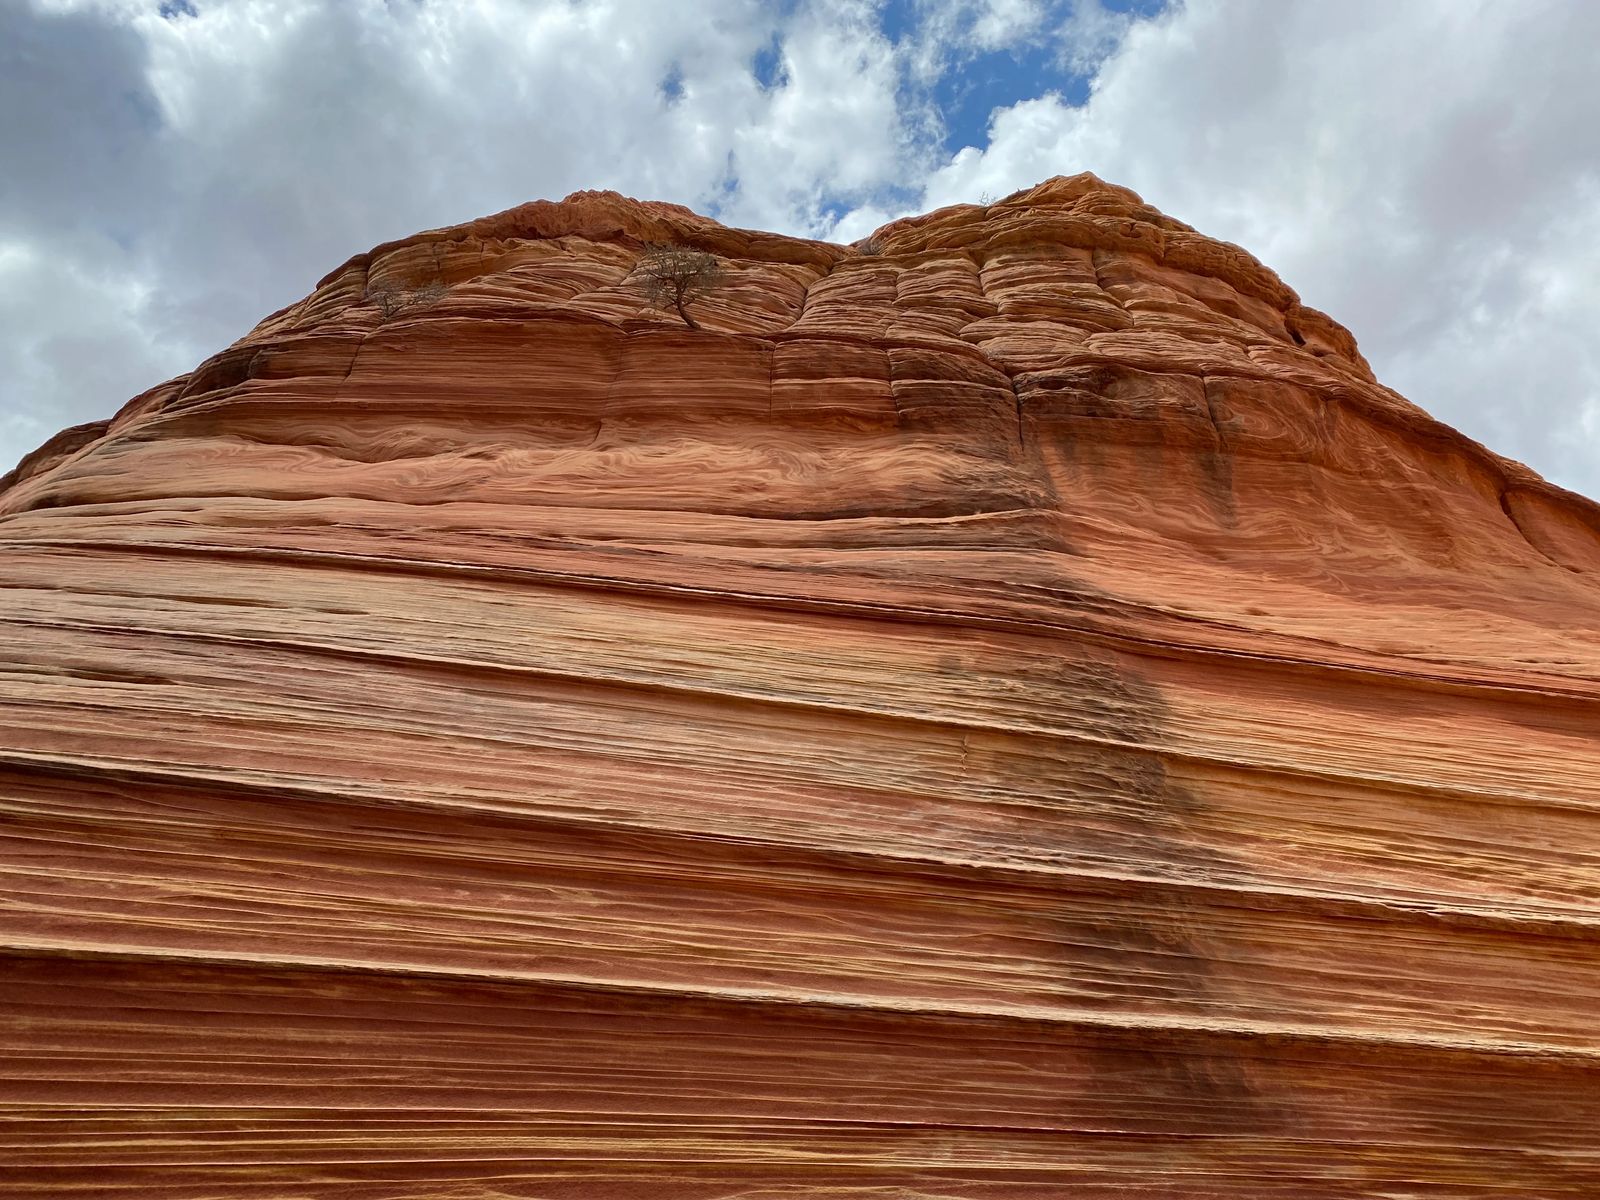
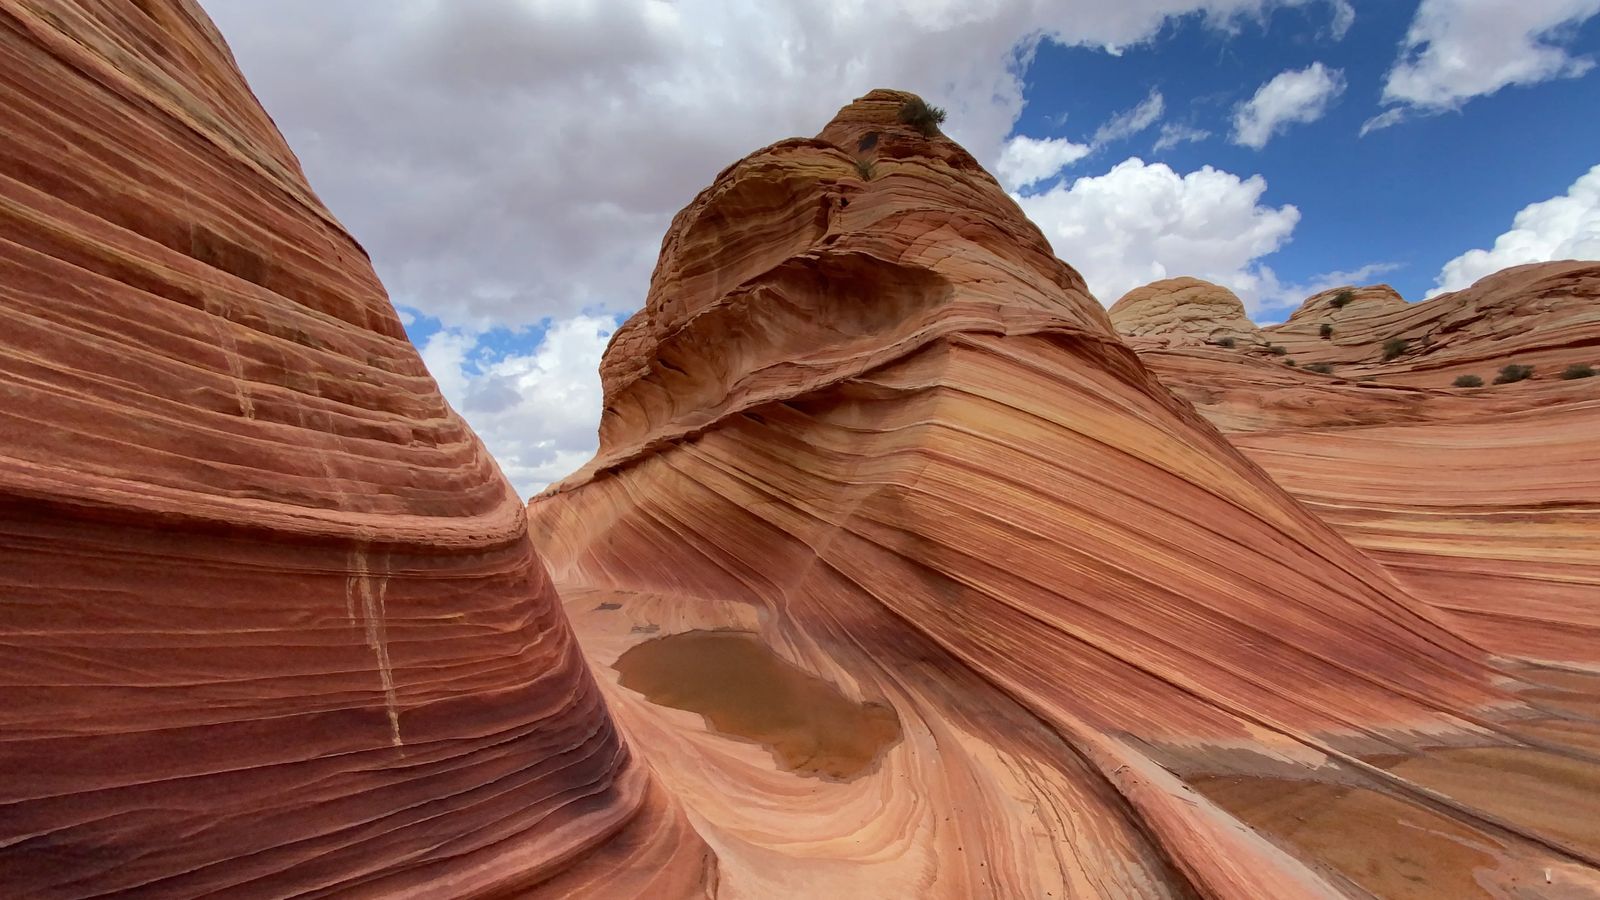
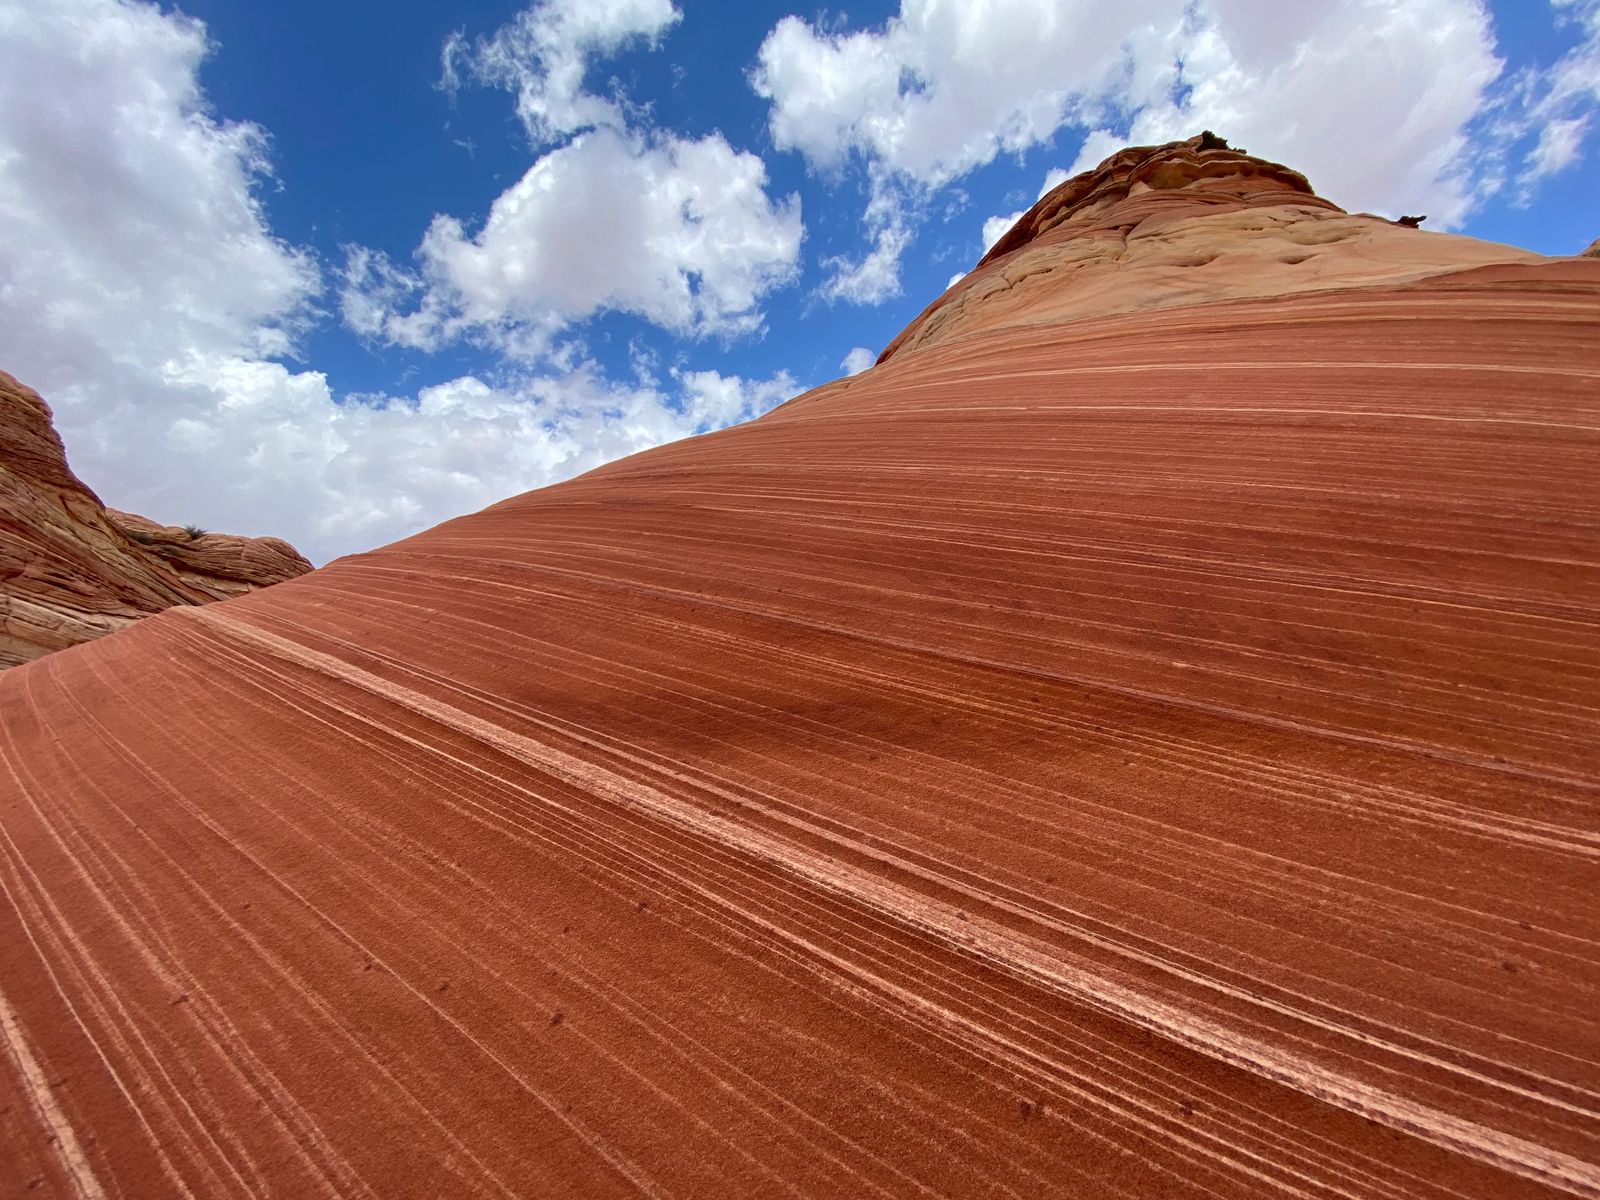
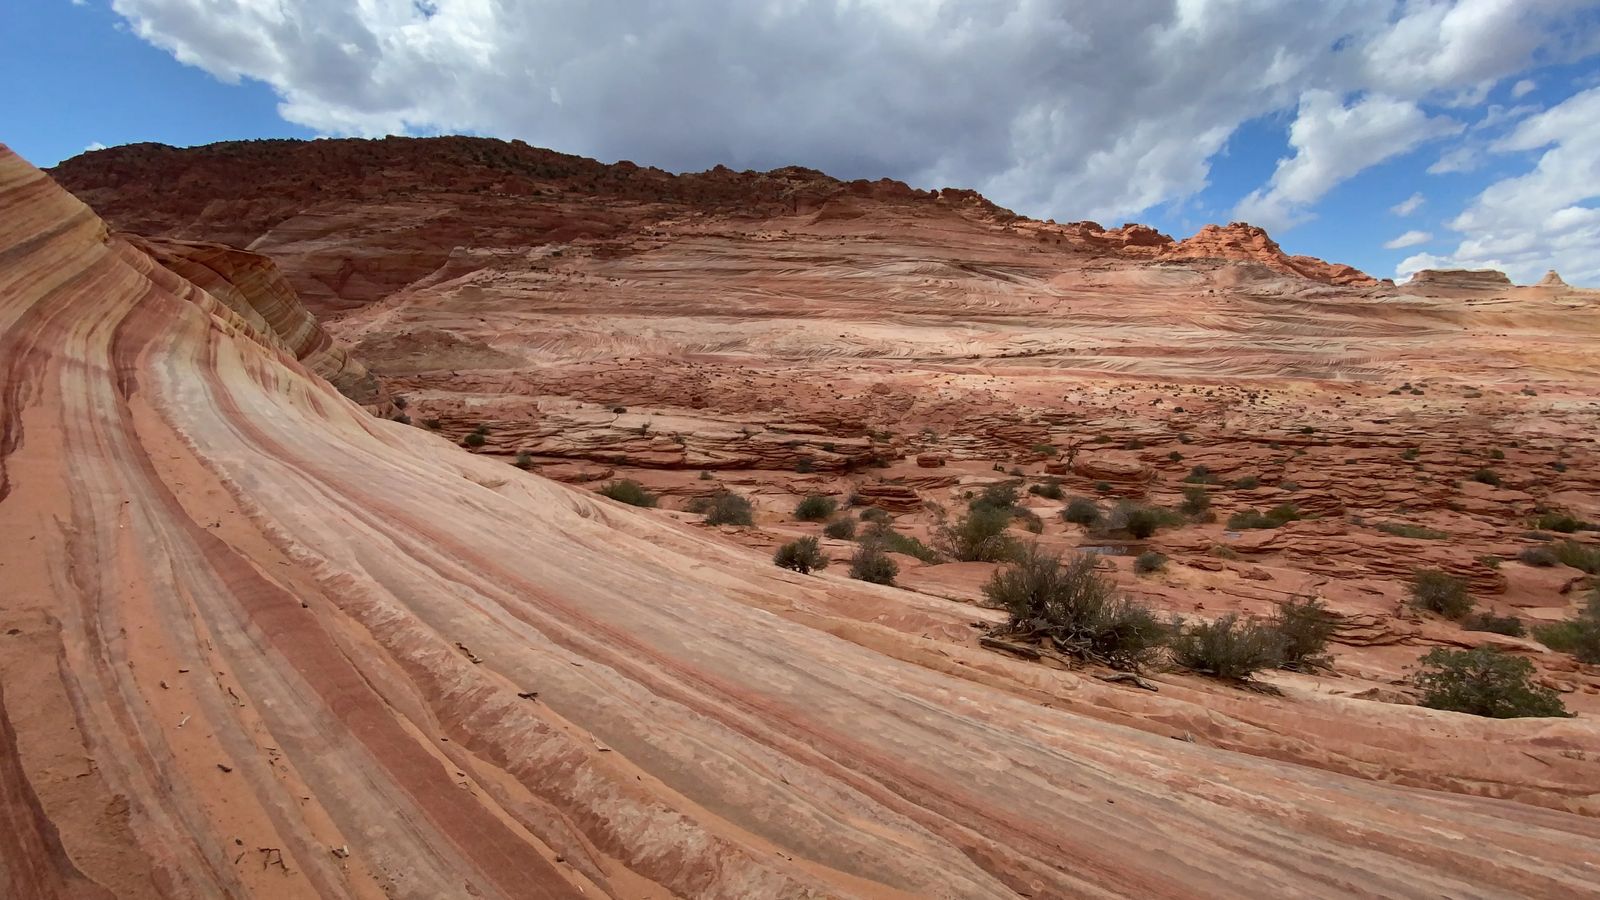
Hiking into the wave in Arizona looked like an artist had put large gobs of burnt orange, red, off white paint on a brush and stroked its generous paint over the rocks here. The lines in the coarse sandstone mesmerized the eye in a ASMR type way, weaving up and down the rocks in smooth patterns. Some lines were coarse, others you had to look for, but it all lead to an illusion turned reality when my friends and I arrived. It is and will be a hike I will never forget. So now that this hike is on your bucket list, how can you actually get permits to see it?
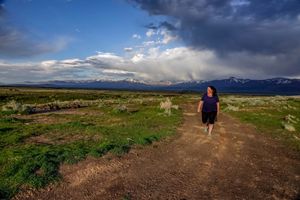
Growing up in Utah, the hike into the Wave was always something I had dreamed of doing. It isn't easy to get a permit in though, some people wait five to even twenty years to get a permit. The hike is strenuous, half of it through above ankle sand at some points. The wind can be relentless and blow the fine sand into your eyes, nose and mouth. There is no cell service here, there are no rescue services other than life flight. Animals are allowed but they won't drag your sorry ass out if things go south. So I highly suggest you keep reading so you don't end up like I nearly did.
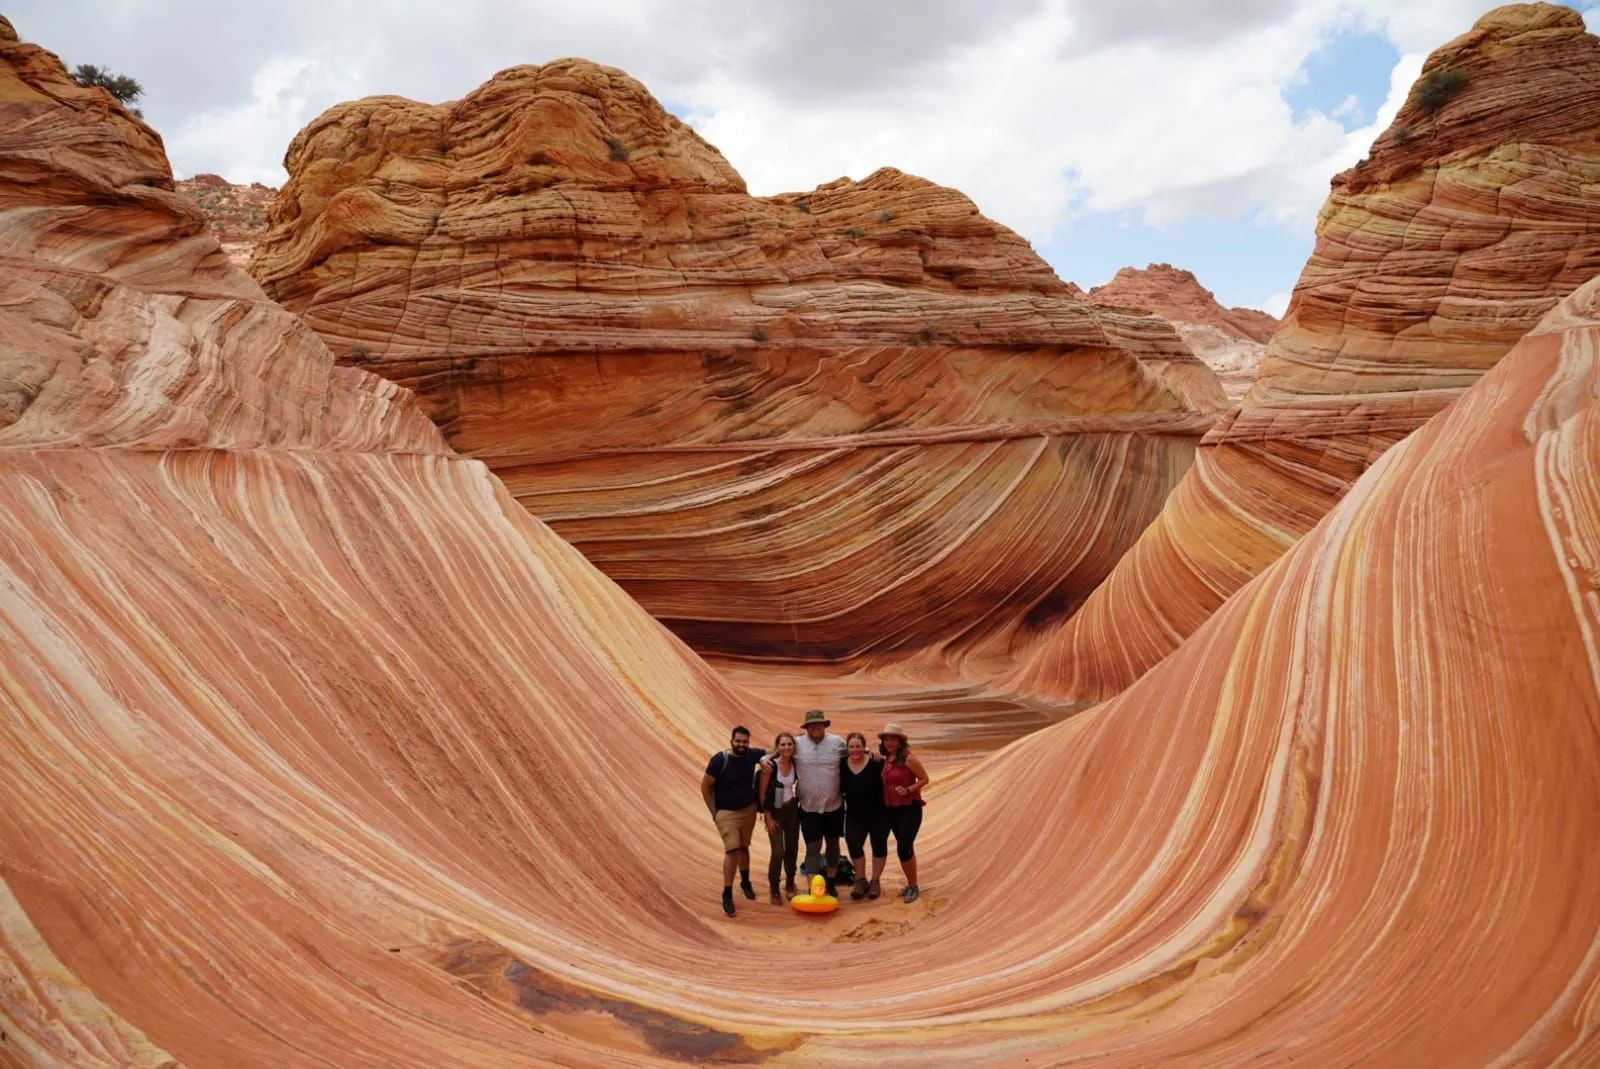
My friends and I hiked the wave in August of 2021, but I have updated this article for 2023 to include the most up to date information, guides, and permit information.
Big thanks to my friend Andy Luten, from Andy's Travel Blog for taking the cover photo for me.
Getting Permits And Penalties If You Don't
If you decide to hike the wave without permits, it is up to a $10,000 fine an a year in prison with prosecution by a federal judge....not pretty. You also get permanently banned from hiking the wave in the future. How do they know? Trust me, they have rangers hiking the trail, licensed guides who are locals that protect the area as well, and policemen that wait in the parking lots to take you to jail if you decide you want to risk it. Just don't.
So what are the ways you can get a permit to hike the wave? Overall there are up to 64 people permitted to hike the wave daily OR 16 permits overall - whichever number gets hit first, is where the permits stop. The daily lottery gets 16 people or 4 permits, and the advanced lottery gets 48 people or 12 permits. So how do you know which lottery to apply for? Let me break this down for you as I've done both.
Daily Lottery To Hike The Wave (Coyote Buttes)
The daily lottery has moved to an online application that MUST be done TWO DAYS BEFORE YOUR HIKE! It also must be done on the Recreation.gov app within the geointerface area (see below). Because the application process is now done online there are a lot more people applying, so based on past numbers the odds are not generally in your favor and are around the same chance of winning as playing Russian Roulette.
IF you have the chance to apply daily, go down in a camper van, and stay for a week or two within the geointerface, then your chances drastically increase - especially on weekdays.
The daily lottery cost is about $9 per application now, it was $7 but with rescues, inflation etc... prices have increased so 2 weeks of applying can be a bit costly. It doesn't matter if you get the permit or not, they keep the money and that is the cost. Don't like it? Too bad, talk to your senators - the BLM folks just are there to enforce rules they really have no say over.
When you go to the BLM website, you are looking for the Vermillion Cliffs or Coyote Buttes permit - it isn't listed as "The Wave" as there area lot more things to see in the area you get permits for, other than just that hike. I'll talk more about that later.
Geo-interface for daily lottery:
- Arizona: Page, Greenhaven, Marble Canyon, Vermilion Cliffs, Jacob Lake, White Sage, Fredonia, Moccasin, and the Kaibab Paiute Indian Reservation.
- Utah: Big Water, Paria, Johnson Canyon, Kanab, Mount Carmel, Orderville, Glendale, and East Zion.
Make sure to double check the facts page here -- Vermilion Cliffs page on the BLM’s website.
Advanced Lottery Tickets To Hike the Wave
You can apply here for Advanced lottery tickets to hike the wave, and it must be done 4 months in advance of when you plan to hike the wave. For example, if you want to hike in October, you need to apply in July.
The advanced lottery tickets can be applied for no matter where you are, and don't require a geointerface through an app to apply. Please keep an eye on the rules, regulations, and timing of picking up tickets, accepting the permits.


Stipulations for Permits
Lottery results for the daily lottery are sent out at 7:15pm the day of application, and you have to accept the permit before 8am the next day.
When you go to do the hike, you MUST be at the safety briefing location by 8:30am - this is not optional. I don't suggest missing the safety briefing as they will be able to tell you which routes are safe to drive/take depending on conditions, what rescue will or will not be available to get to your should something happen.
Don't Underestimate The Wave TrAil
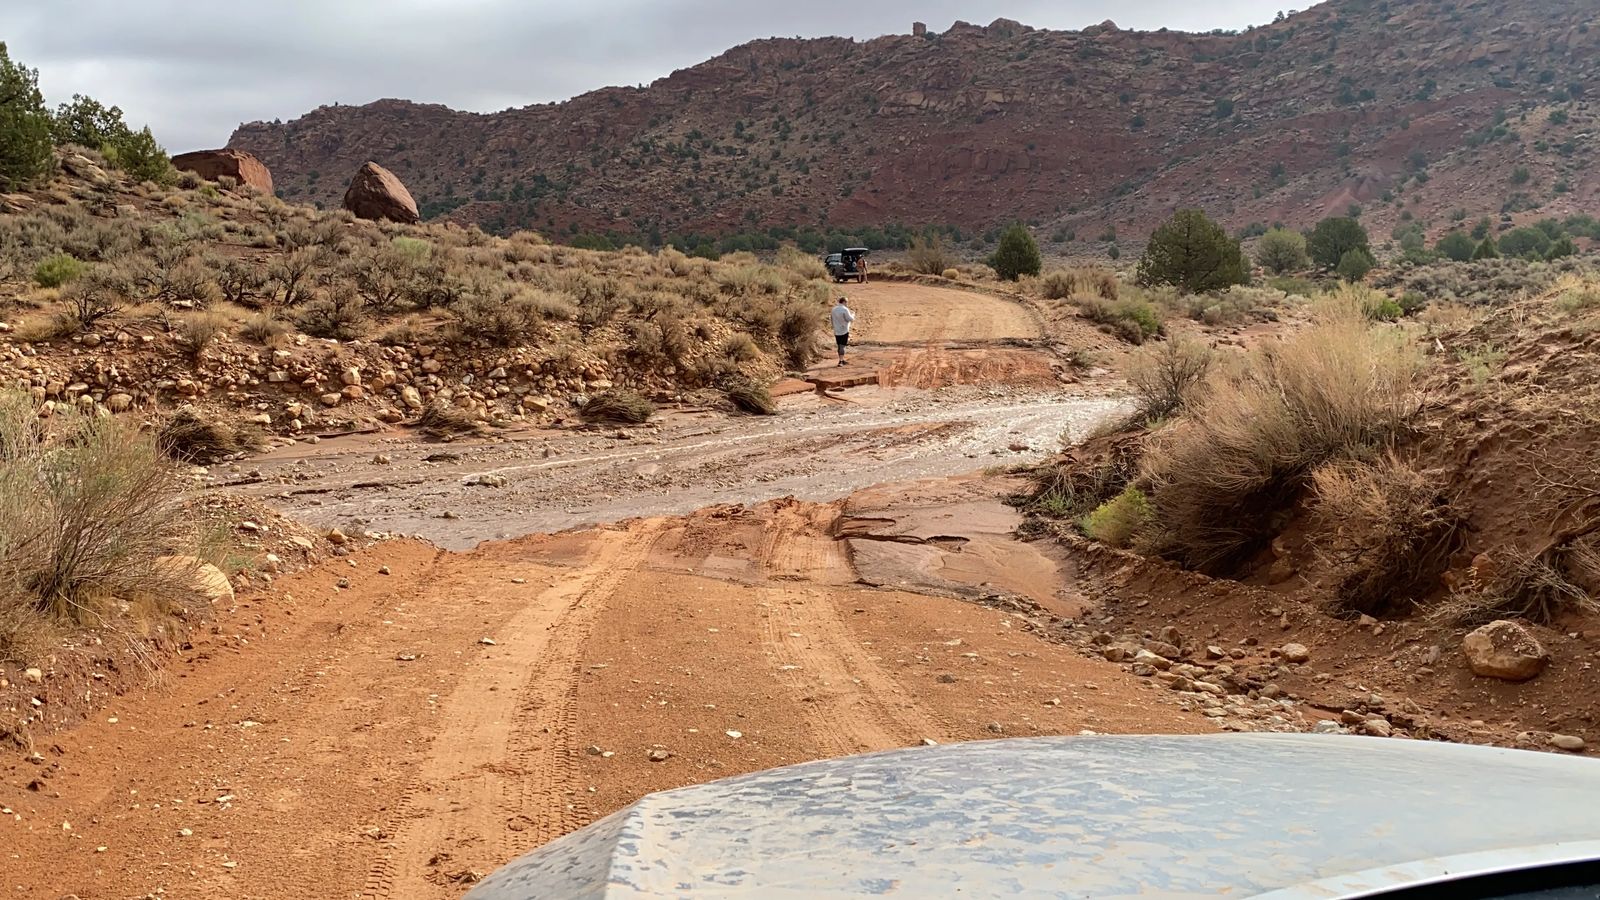
Coyote Buttes North (or the Wave area) is 112,000-acre area within the Paria Canyon-Vermillion Cliffs Wilderness. If it rains, the rocks become very slick, some roads can be impassable even in a Jeep, Landrover, or Hummer - think 18" mud ruts. If your car gets stuck, well....your 'shit out of luck' or 'sol' as we say here in Utah - until the roads dry and you can get your car out yourself - or pay a $1200 tow bill because they have to bring out the mammoth tow trucks.
Once you get to the trailhead, you will quickly learn that there is NO established trail. Multiple people try to use AllTrails and GPS on their phones and quickly learn it isn't entirely accurate. It gets you close, but it isn't exact. My friend luckily had a satellite GPS and put in coordinates for the wave hike and that was the most accurate GPS we found, when we ran all three of them.
Alltrails was pretty close, but it takes you to the left of the (what I call mountain boobs) and you need to go right - more on that later. Getting into the wave is fairly easy to find, as you pretty much follow people going in (we followed a guide in) - getting back out is where people get turned around and get lost. Especially if you are relying on your phone, that loses cell signal before you even start the trail. I lost signal on my cell about 1/2 way driving into the trailhead.
You can hike to the wave trailhead if it does rain, but it adds on about 5-10 miles to the hike, the permits are timed, you won't be rescued (unless it is via a GPS SOS communication and via helicopter) if something happens (ie/ broken leg, sprained ankle, dehydration or heat stroke).
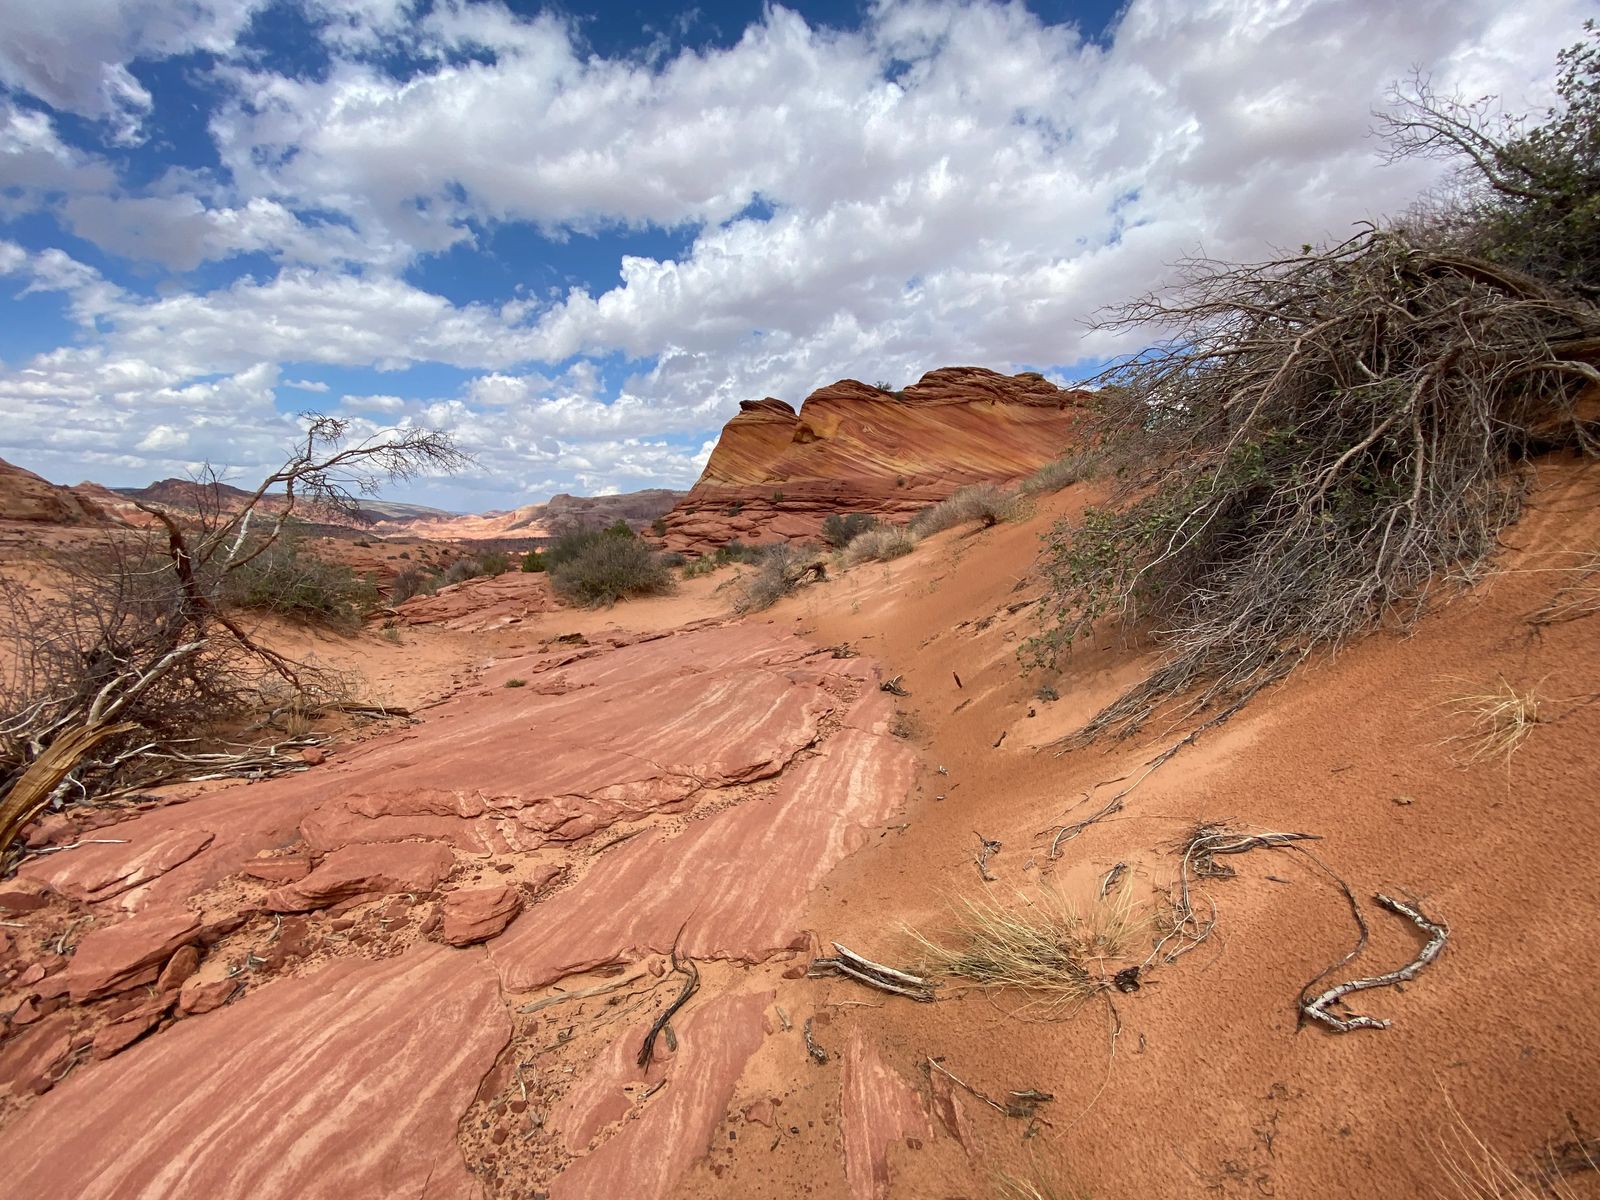
The hike (if it does rain) is a bit easier when the sand is wet, as it becomes a bit harder. Half of the hike is in soft sand that comes up over your ankles, the other is along uneven sandstone or slickrock that is just that - extremely slippery when wet or dry. The wind here is relentless in a storm and the rocks are often covered with a thin layer of sand - so make sure you have good footing and know where you are walking.
There are snakes on this trail, we ran into a rattle snake on the trail just after a rainstorm as well (yep, desert animals tend to appear after a storm to get warm again).
The trail itself is considered a strenuous trail, Moderate on Alltrails with a 6.7 mile out and back trail. It gains 1,233 feet in elevation and takes anywhere from 3-5 hours to complete depending on how slow you hike (the sand is the killer), and how long you explore the rest of the area or take photos.
Gear You Need For The Trail
Garmin GPS Mini this is the more affordable option of GPS units that also has an SOS satellite communicator on it. While it doesn't show the trail directly on its display, it can connect to your phone to show you the trail. The satellite SOS function does require a satellite subscription, but if you are doing this hike I STRONGLY suggest getting this in case something happens, cell phone service doesn't exist along the hike.
Hiking Poles WITH protective rubber tips on them the hiking poles will help you get through the deep sand without completely burning out your calf muscles, it also helps you stay steady on the slick sandstone. The wind blows sand all over the rocks, but you don't often know a surface is slick with it until you step on it. If you do bring hiking poles though, please please please make sure you are using protective rubber caps on the end of the poles to protect against the sharp graphite ends carving grooves into the sandstone so we can protect the area for as long as possible.
Photogear will be essential, however I wouldn't suggest brining a giant lens - just because of the sheer weight. I would suggest either bringing an Iphone with a timer and small tripod to set it on, a higher end ESLR with 2.5-3.6 or 11 to 16 aperture capabilities. The wider lenses are going to be important here in order to capture the illusion of the lines of the wave. If you are planning on staying for night shots, bring a coat and hand warmers (if outside the summer months) as it can get really chilly in the desert, along with lumen cubes for light painting (see more info below).
This goes without saying but BRING WATER - lots of it, at least 2 liters per person or per animal, if it is summer, pack even more, especially if you sweat a lot or are hiking in the day. I would also suggest a packet of electrolytes and salt tablets if you are hiking in the summer in case of heat stroke or heat exhaustion.
Bring a hat, even in the winter you can get sunburned, and sunscreen. Make sure to apply the sunscreen to the underside of your chin, nose and ears as the reflection of the sun from the rocks can also cause burns as well.
Hiking shoes/boots, I would suggest hiking with shoes that you can take off easily to empty the sand and have good traction for the sandstone. My friend has a picture of hiking to the wave and her ankle is completely swallowed up in sand. I don't know that wearing hiking boots will protect you from getting sand in your shoes but you could try.
Body Glide is a life save for me and for the lads, you will want to use some too - it is something triathletes use to help against chafing of the body parts rubbing against each other, or even from clothing rubbing on the arms.
GPS vs Paper Maps
The BLM office does provide a detailed paper copy of how to GET to the Wave, but if you haven't hiked in the desert before in Arizona/Utah it is really easy to get turned around on the way back. No matter what blog or video you look at - trying to get back to the parking lot is where most of the people hiking the wave get lost. The PDF the BLM provides does give some landmarks on how to get back to your car, but it can still be very easy to veer off the path.
As I said before, Alltrails can get you there (except for the one area it takes you to the left instead of the right), Google maps even if you download it to be available off line - it is incredibly glitchy and I wouldn't rely on it, the MOST correct GPS unit was the Garmin satellite GPS, the Garmin Mini has an app that it connect to your phone to - but does require a subscription to connecting to the satellite.
We had every single one of the above GPS devices and paper copy that the BLM provides. The paper copy gets you there really well, the Garmin and Alltrails Pro were great to have to confirm we were on the right route. On the way out, the Garmin GPS was probably the most helpful because it is so so easy to get turned around and end up down a canyon without an outlet.
Why is all this important? Because in the summer, with no shade, really hot sand, no water or emergency services available - it can literally save you life. If you get heat stroke (which there are at least one of these per week in the summer) the only way out is through the costly airlift evacuation to the nearest hospital, then you have to figure out how to get back to your car once you get better. DO NOT UNDERESTIMATE THIS AREA! I cannot stress this enough, especially in the summer, be adequately prepared and DO NOT hike in the heat of the day if you can help it.
Hiking The Trail Into The Wave (Stops 1 - 6)
If it hasn't been raining, you can head to the Wirepass trailhead parking, this is where the trail for the wave starts from. DO NOT FOLLOW THE CAIRNS the BLM doesn't place cairns anywhere as they believe (as we should) of leaving no trace. They have, however, left wooden trail markers sparsely along the trail at key intervals so you know what to look for in general.
Make sure to fill out the trailhead register for each member of the group along with emergency information for them in case rescuers need it.
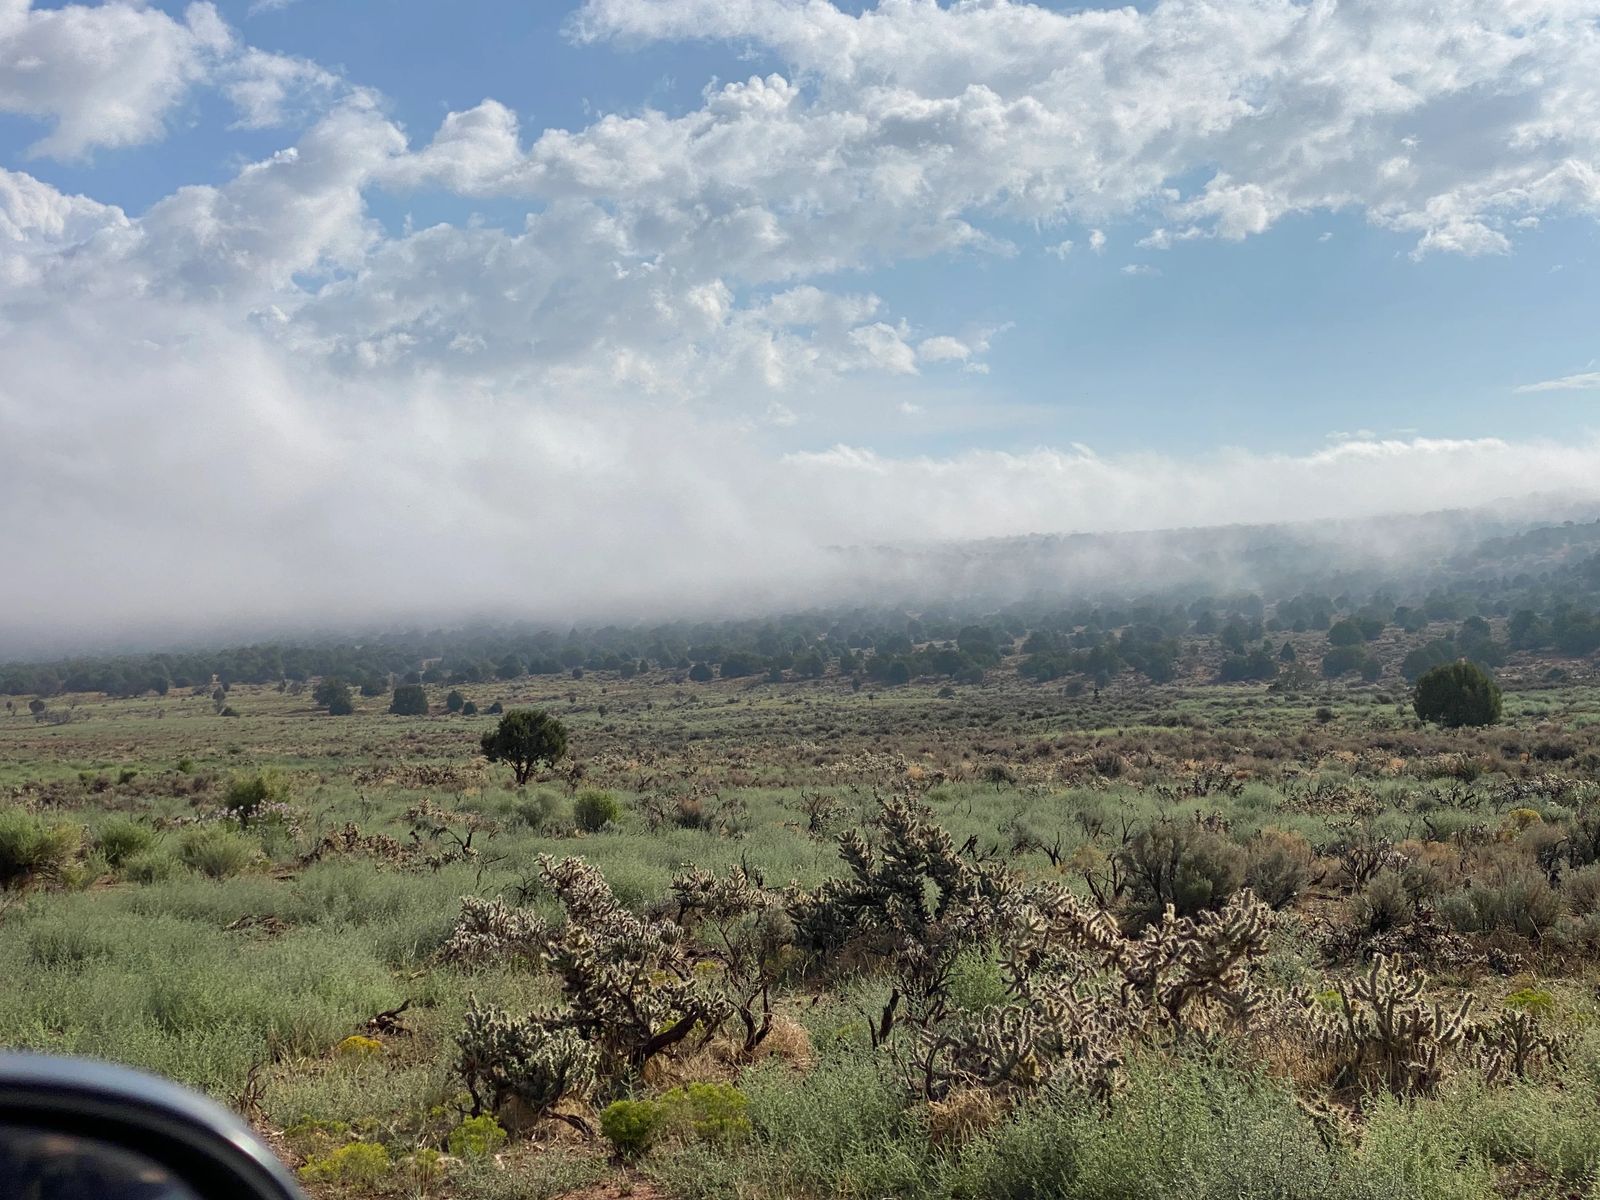
Stop 1 on PDF BLM provides - Once you start down the Coyote wash, you walk about 1/2 mile of pebble like sand and you see a path on the right that veers up the hill - that is the path you will take. This part of the trail is easy to follow, and you come to a desert plain with a small hilly range in the distance. Stop 2 - From the mountain on the right, you follow the ridge with your eyes, and see a small drop, or notch, this is the small saddle and this is where you will cross. This area is often the place where visitors get lost.
Stop 3 - Once you pass the small notch, and crest the ridge, you will walk close to the mountain, along the slanted sandstone. Watch your footing here, if it has been rainy or windy it can really be slippery with a layer of sand that makes your footing a bit precarious. This is where having the hiking poles with protective covers on them (to protect the sandstone) will be the most beneficial.
Stop 4 - You hike around the small hill/mountain until you see two buttes (aka the boobs) to the right, you will also see a Teepee looking mountain in the distance, so don't get them confused. You want to hike to the right of the boobs NOT THE LEFT like Alltrails tells you, the drop off is a bit too sheer to the left.
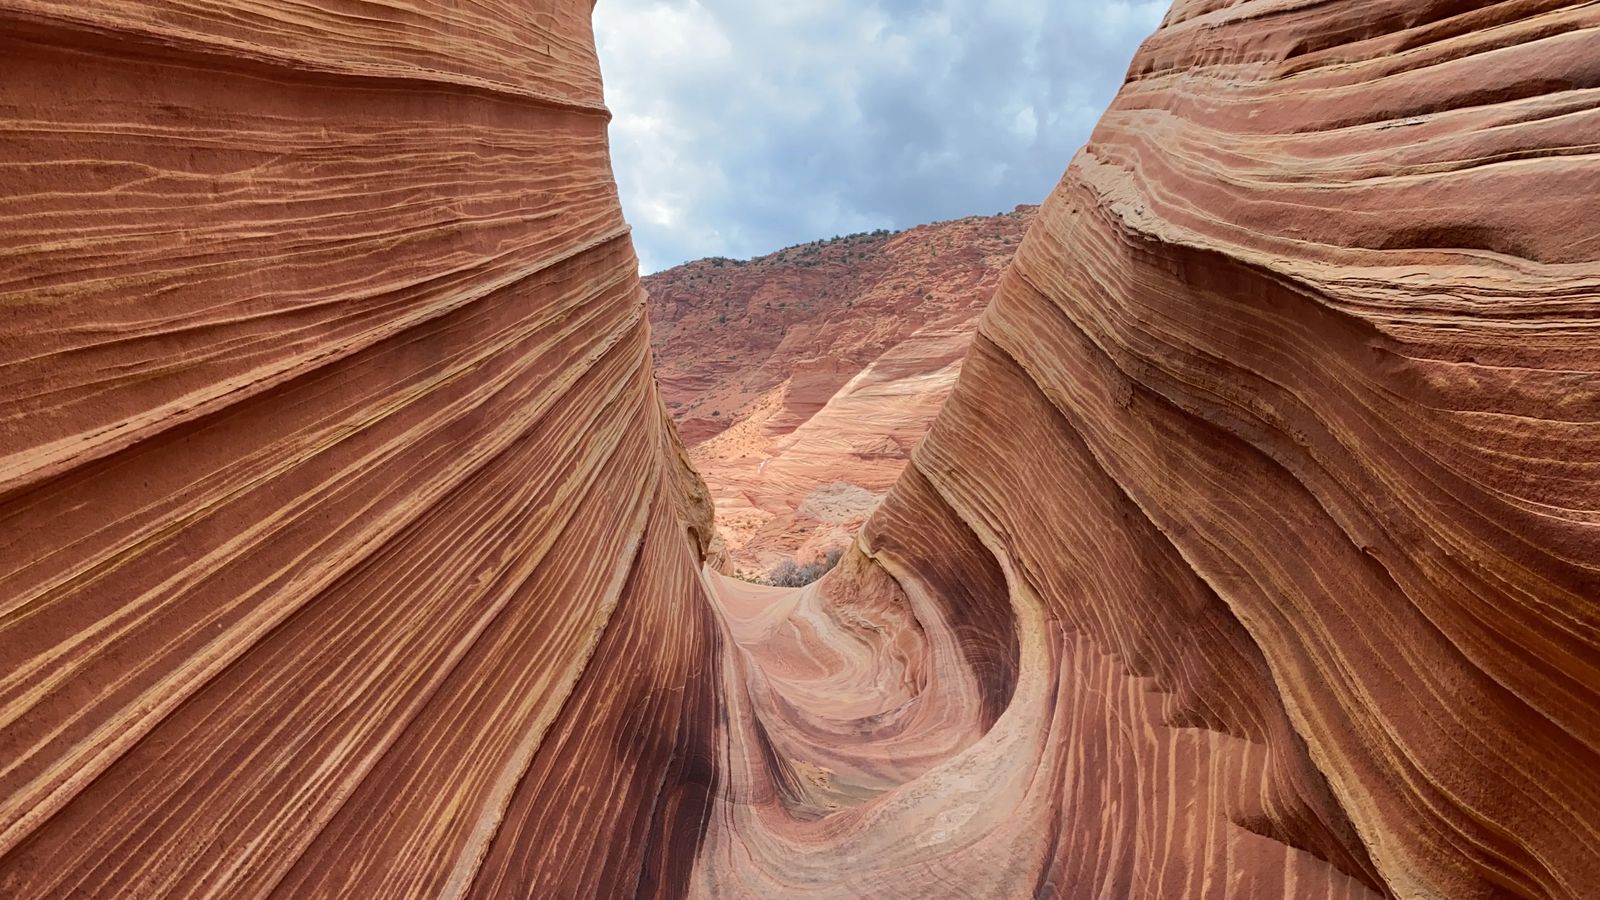
Stop 5-6 - Welcome to ankle deep sand, and calf burning hell - you will see the sand dunes in the distance and a vertical crevice (the ass crack) in the distance. This is where you start hiking through sand, making your way up to the ass crack, where you will find the Wave.
Hiking OUT of the Wave
The PDF the BLM provides does have the images and landmarks on the paper that will be important for you to reference as you hike out of the Wave. The Stops 7-11 show you what path is the best one to take to get out of the wave, I wouldn't suggest straying from the suggested path as there are snakes and rattle snakes in the area. So it is best to stay in an area that the snakes know to steer clear from, especially if you are bringing your animals with you - this will be very important to not let them run off.
Best Time To Photograph The Wave
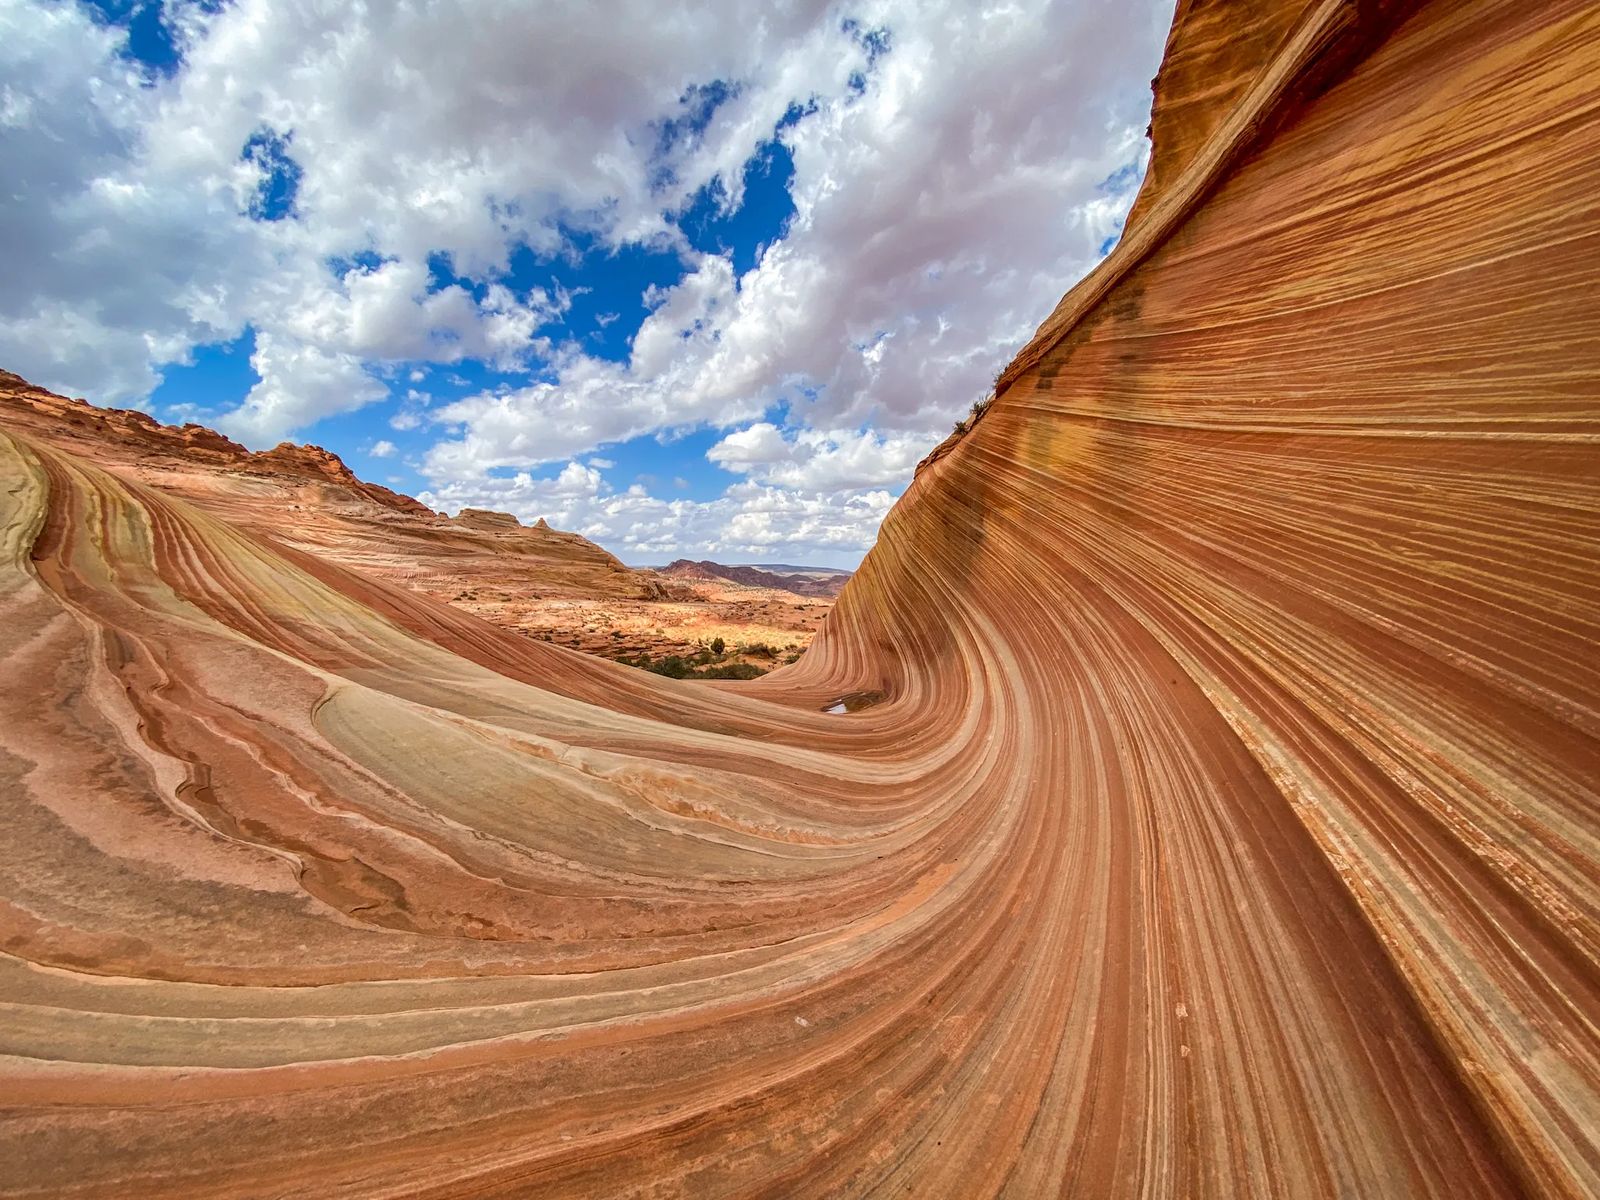
Getting to the wave before sunrise is going to be your best bet at capturing the even lighting of morning without a lot of shadow. As the sun comes up you get the sun on the south wall, and shadow on the north wall which can be a bit challenging to correct.
If you arrive anytime after 11 am you are looking at pretty harsh shadows if you are photographing yourself but around noon the entire place will be evenly lit with lots of of colors. Just make sure if you are doing midday photography here you have a UV filter or an ND filter on your camera to help with glare.
If you are brave enough to hike at night before 3 am, you will definitely need the Garmin GPS or the AllTrails Pro App, because you will lose your landmarks. However, if it is a clear night, you will be able to capture the stars and do some light painting (bring a flashlight or light cubes that you can angle how you need to) of the wave to create a very artistic photo.
If you want to capture the milky way, just remember it will be on the south view into the wave, not in the classic view of the wave you see in most pictures.
Keep in mind you cannot camp anywhere in this area, so you don't have the option to stay overnight. It also might become a bit tricky navigating the roads back if you don't have a lightbar on your car to highlight the roads to avoid a flat or getting stuck.

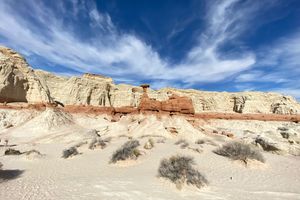
Other Things To See Near The Wave
There are SO many other things to see near the wave that are just as beautiful and stunning, but they are often missed because they aren't on Instagram. The other areas do require more hiking, and by the time people hike through all the sand, they are typically too tired to see the rest of it.
If you are fit as a fiddle and love hiking in sand, then here are a few more things I would suggest seeing while you are in the area. All of these places fall under the permit for the wave, and you cannot see them without having a permit as well.
- The “Second” Wave
- Sand Cove
- The Boneyard
- Top Rock and Top Rock Arch
- North and South TeePees
- The Dinosaur Dance Floor
- Melody Arch
- The Alcove
- Hourglass Arch
- Dick’s Arch
Things To Do If You Don't Get A Permit
Sadly the odds of getting a ticket aren't always in your favor, it took me 3 years, but then learned later that sometimes it takes people 10 to 20 years to get the permits in order to see the Wave. If you are there and trying for a lottery ticket, and don't get one, there are PLENTY of things to see that don't require a permit.
I put a whole article together on things to do in Kanab besides the wave that are breathtaking and inspiring as well. Did you know Kanab has the largest animal rescue group in the entire USA? There are pictographs down Wirepass (which is also dog friendly), there are the coral pink sand dunes, the dragon's belly and much more.
Hiring a Guide To Hike The WAve
If you don't have a fancy Jeep, or high clearance car, or a massive GPS system, or are really really bad with directions, or are hiking in the summer - I would highly suggest hiring a guide and including them on your permit tickets.
They are locals who know the area, are typically trained in first aid and emergency situations specific for this area, they usually drive you in with cars they know can handle any weather or terrain, and will tell you about the geology, you won't get lost, they know the legends, they have the gritty stories about the rescues out here. They also know a lot of the locals that could come to the rescue if you get in a jam with your car.
Some of the tour companies can even apply for the permits for you, if you aren't in the immediate area but are close! Just make sure you note where they will meet you, some are located in Page Arizona, some in Kanab, and some in a surrounding area that would require you to travel to them.
Here are some of the guides that are licensed with BLM to guide people into the wave:
- Action Photo Tours — www.actionphototours.com — 208-789-5899
- American West Scenic Adventures — www.utahguidedtours.com — 435-767-0220
- Dreamland Safari Tours — www.dreamlandtours.net — 435-644-5506
- Grand Circle Tours — www.vermilioncliffs.net — 928-691-0166
- Grand Staircase Discovery Tours — www.grandstaircasediscoverytours.com — 928-614-4099
- Kanab Tour Company — www.kanabtourcompany.com — 435-644-5525
- Kanab Western Adventures — www.kanabwesternadventures.com — 435-690-0220
- Coral Cliffs Tours of Kanab — www.cctoursandtownhomes.com — 435-899-0697
- Paria Outpost & Outfitters — www.paria.com — 928-691-1047
- Seeking Treasure Adventures — www.seekingtreasureadventures.com — 435-689-2182
- Antelope Canyon Tours — www.antelopecanyon.com — 928-645-9102
Vehicle Clearance & Car Rentals
I drove in with my Subaru Forrester and I did 'ok' but there were 2 spots I probably shouldn't have taken my car through to be honest (see my Youtube Video) and at one point I had to just park it precariously on the side of the road.
My friends rented a 4Runner and that did JUST fine, others had high clearance trucks, Jeeps and jacked up adventure vehicles that look like they were former military overlanding vehicles (it was insane).
The point is, you need a high clearance vehicle and EXPERIENCE driving in sandy areas, over drops, ruts, mud, and rivers. I've navigated a LOT of different types of off road driving having grown up in Utah and spending most of my time going to remote camping locations - this road definitely had its challenges that made me nervous.
Amongst my friends, we call these kids of roads a pucker factor of 8/10 - meaning how hard are you holding your shit in hoping you don't completely bottom out or get impossibly stuck.
If you decide to rent a car, just make sure you know what the rental agreement says about off-roading. Many car rental companies do not allow you to do off-roading of any kind, and would certainly frown on this type of road driving (this is where hiring a guide comes in handy).

My Takeaway From Hiking the Wave In Arizona
Being able to hike the wave in Arizona was an incredible opportunity, a gift that I hope I will be able to experience again and be a little more prepared for the second time around. I know a bit of this article may have seemed like I am an alarmist, but I had a good reason to be. While on the hike, my feet when numb from a chronic tendonitis I didn't know I had until I went to the doctor after this hike and had about three times the fluid in the tendon sheath that should have been there.
Walking across the sandstone, hiking through the sand - is extremely difficult when you cannot feel where you are putting your feet. We hiked this area in August, it was hot, we didn't start the hike early enough as I think we vastly underestimated how long the hike would take. When I got to the wave, I ended up getting so nauseated, and luckily being a Physician Assistant, knew I was starting down the path of heat stroke. I found a cool patch of sand, some shade, downed my electrolytes I had brought, and ate some carrots and nuts and had some fruit leather.
After feeling a bit better from fluids and food, I was able to explore a bit, get some great photos, but my brain still felt like it was in a giant fog. It was hard to articulate words, and I knew I was in trouble, but being a typical healthcare worker - I ignored it - seriously we are the worse patients.
My friends and I started back down the trail, and I started to slur my words, and forgot their names. I stopped under a tree at one point and threw up about six times. A guide came by and I rode the adrenalin rush from vomiting and was able to make it to the car. I luckily had some more electrolytes and cold packs I put on my major arteries and I had someone else drive my car back to Kanab because my reflexes were just not good enough to navigate the roads.
After blasting the A/C, getting electrolytes and putting about two packs of salt into the water as well - I started to feel better. I got back to my hotel, and sat in a cold bath for about an hour before I felt like I was finally able to think clearly and spent the next two days drinking Gatorade.
I feel incredibly embarrassed sharing this story to be honest, I felt like the weak link in front of my friends. I had been working out at the gym, doing an hour on the stairs, hydrating before the hike, and still - because I had heat stroke as a child, it makes me incredibly more susceptible to it.
The takeaway of all of this is, don't underestimate the trail or the heat, don't overestimate your ability to hike this trail - NO photo or experience is worth it. If I didn't have the sheer grit, and medical training, and terror of what the medical bill would have been - I don't know if I would have made it out without that or my friends helping me along the way.
Is it worth the hike, absolutely, but doing it safely should be the TOP priority and if you are doing the hike anytime between June or the September, be incredibly cautious of how long you are out in the heat here hiking.
Guided Tours in Kanab Of Activities
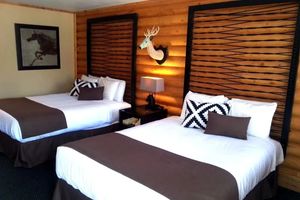
Where To Stay In Kanab
Like it? Pin it for later! Sharing is caring ;)
.jpg?fit=outside&w=1600&h=2399)
.jpg?fit=outside&w=1600&h=2399)
.jpg?fit=outside&w=1600&h=2399)
Latest Articles On Culture Trekking


Welcome to Culture Trekking!
My name is Janiel, a leader in the travel industry with over 20+ years of experience with international travel. I specialize in solo female travel, cultural connections, sustainable adventures, food and history to help make your travel experiences fun, meaningful, and delicious. My experience in travel, and my personal story have allowed me to get published in Fodor's Travel, Atlas Obscura, Metro.co.uk, Trip Advisor, and multiple Podcast interviews. You can find me on pretty much every social media channel YouTube, Instagram, Twitter, Facebook, Pinterest, TikTok. To read more about me and my story click here. If you are a brand and would like to work with me, click here.